Do I Have to Assemble My TIMBERKITS™ Project Myself?
The call we get most often isn't about timber species or beam dimensions. It's some version of: do I have to build this myself? You certainly can install yourself, however we do have our own crew who can install the structure. Alternately, some landscapers and contractors install our structures as well.
If the word “kit” makes you think of a flatpack box and a hex key, that’s exactly the misconception this is meant to clear up. In reality, all the heavy lifting, designing to your dimensions, cutting the joinery, and staining the timber, is done in our shop in Lindsay before anything is shipped.
By the time the structure reaches your property, every decision has been made, and every joint has been cut. It's not always straightforward, but the hard work is already done before anything leaves the shop.
What's Actually Inside a TIMBERKITS™ Pergola or Pavilion Kit
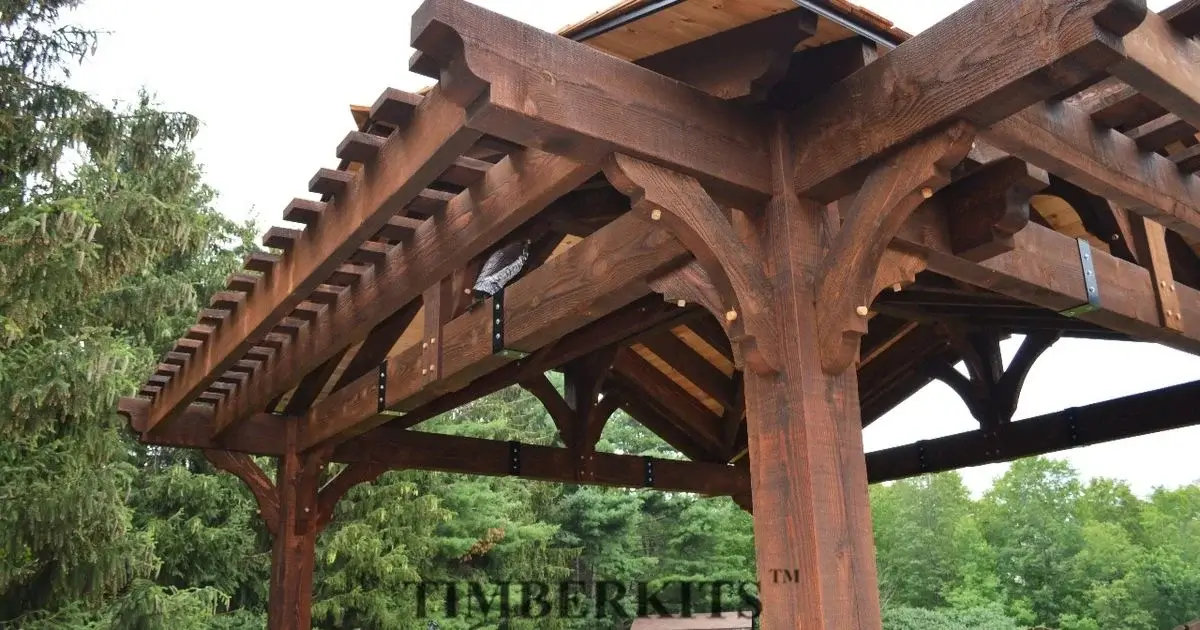
Every piece of timber is cut to spec before it leaves the shop. The mortise and tenon/dovetail joinery is CNC-machined. The Douglas Fir is dressed on all four sides, and the CUTEK Extreme stain is applied in whatever colour you chose during the design process.
Posts, beams, braces, shade boards and purlins arrive bundled and labelled by assembly sequence, with hardware and fasteners packaged to match. The install crew doesn't spend the first hour sorting a pile of lumber. They open the bundle and start building.
The decisions you made during design such as end profiles, brace styles, electrical rough-in, post lighting are already built into the timber. For a pergola or pavilion kit for North American homeowners sourced through a landscaper, this matters: your contractor knows exactly what's coming, when it arrives, and how long the install takes. There are no surprises to work around.
If you've added electrical upgrades, wire holes drilled bottom-to-top through the posts or a mortised pocket for a light switch flush with the post face, that work is done in the shop. The install crew isn't solving problems on your lawn. They're executing a plan that was finished before the timber shipped.
You can see the full range of structural options across our pergola and pavilion product pages if you're still working out which build suits your space.
What to Have Ready Before the Design Conversation
The design conversation happens before anything gets cut, and it's worth knowing what you need to have figured out going in. Dimensions are the starting point — the footprint you're working with, any setback requirements from your property line, and any height restrictions.
From there, the team walks you through any design elements and will discuss what exactly you are looking to achieve within your structure.
Footing type is the other decision that needs to happen early. Sono tubes or an engineered concrete slab are typically the preferred approach, but helical piles work for most Southern Ontario properties if your municipality or lot calls for them. Your landscaper, if you're working with one, will usually have a read on this already.
You don't need every detail resolved before reaching out. Most consults are done via email or telephone, and the quote conversation is where most of it gets worked out. What helps is having your dimensions and a general sense of how you want to use the space. The rest follows from there.
Why One-Day Installation Is the Norm, Not the Exception
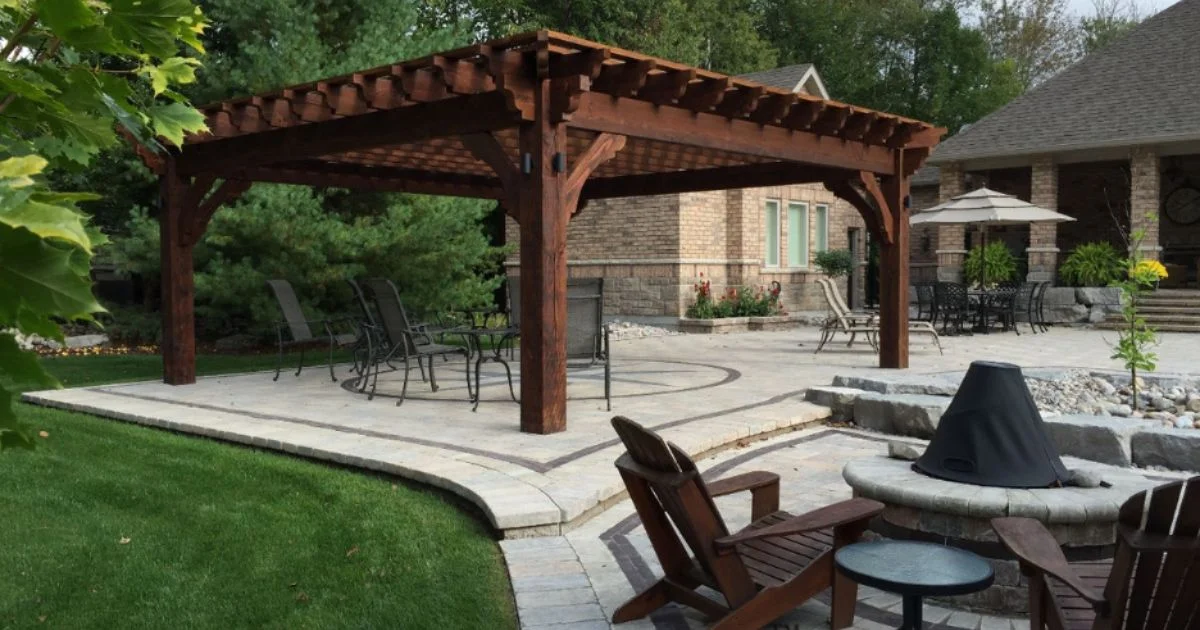
Most residential installs finish in a single day. That's what happens when every joint is pre-cut to seat on the first try and the crew has run the same components hundreds of times.
Footings go in first. Helical piles are standard for most Southern Ontario properties because they don't require excavation, don't rely on frost depth the way poured concrete does, and can be loaded the same day they're driven. By the time the crew leaves, the structure is standing and your yard looks like a yard again.
That one-day window changes how you plan everything around it. Landscaper, patio install, new sod — they all work around a known date instead of an open-ended build. The mess that usually comes with a construction project stayed in Lindsay, not your backyard.
Who Handles a Professional Pergola Install — and When You'd DIY Instead
Whether TIMBERKITS™ installs or a landscaper handles it as part of their scope, the process on your end is the same: you make the design decisions, the order goes in, and the structure shows up finished. The only variable is whether you want to be the one putting it up yourself.
The DIY path is genuinely available for anyone who wants it. Some homeowners want to build their own pergola or pavilion, and it's a real option. The joinery is pre-cut to fit, the instructions are included, and the kit is designed to go up with ease.
It's a reasonable weekend project for someone comfortable with everyday tools. But it's a choice, not an assignment. Nobody hands you the project and walks away unless that's what you asked for.
For landscapers who haven't worked with us before: the coordination is straightforward. You know the delivery date, you know the install timeline, and the kit ships with everything needed to complete the build. Nothing gets sourced separately on site. Because the timber arrives pre-stained, there's no waiting on a finish before surrounding work can continue.
The crew finishes, cleans up, and your scope carries on. More detail on how that relationship works is on our custom residential page.
Why Commercial Projects Prove the Residential Model Works
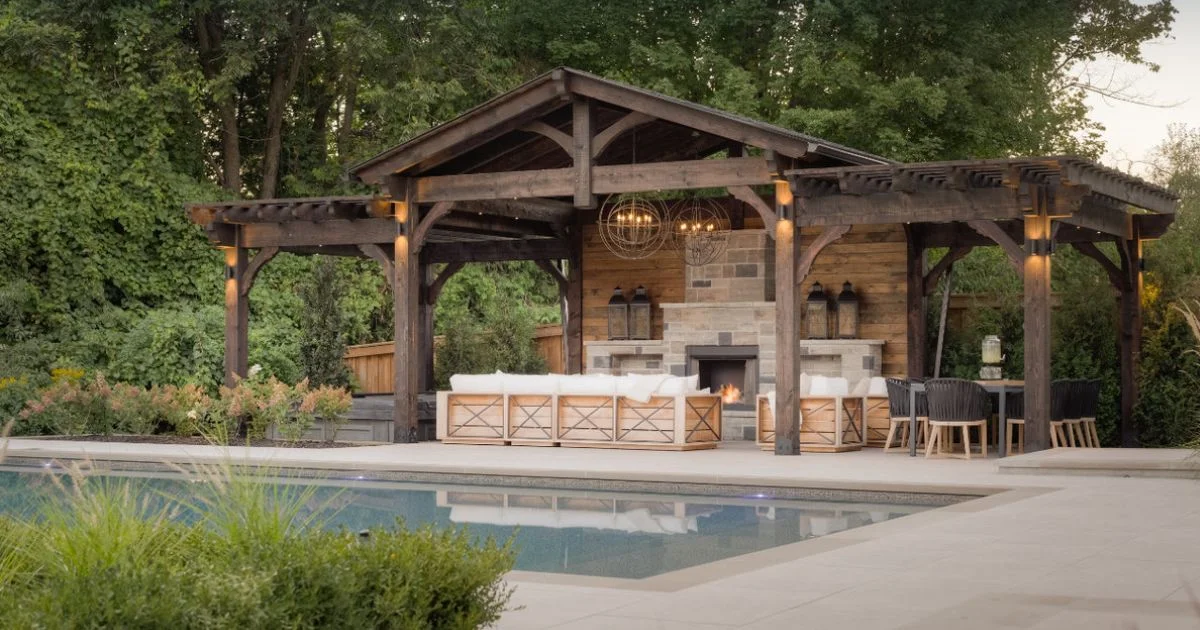
Pre-fabrication either holds up under pressure, or it doesn't. Canada's Wonderland is a useful test case — not because it's impressive to name-drop, but because the scale and scrutiny are different. Multiple structures, commercial timelines, no tolerance for a kit that requires field problem-solving to go up.
The Gate 5 Entrance Pavilion, the Waterpark Pergola, the 24x60 Four Gable Pavilion — all of them ran on the same model as a residential pergola in Mississauga. Pre-cut, pre-stained, joints that seat without adjustment.
That consistency is what the kit model delivers. When every piece is machined in a controlled environment and the stain is applied before the timber sees weather, the result is predictable regardless of who's installing or how many structures are going up at once. Your install crew isn't adapting to the material. The material is already done.
The 4–6 Week Window and How to Use It
Once the order goes in, the 4–6-week window is when the actual building happens. The design gets finalized, the timber gets selected and cut, the joinery gets machined, and the stain gets applied in the shop. Your structure is being built to your dimensions during those weeks. It's not sitting in a warehouse.
What you're doing during that time is coordinating everything around it. If you're working with a landscaper, this is when they schedule the footing crew, plan the surrounding grade work, and block off the install date. If you're managing the project yourself, it's when you confirm the footing type, sort out permit requirements with your municipality, and figure out what else in the yard needs to happen before or after the structure goes up.
Ontario's Building Code exempts a detached, closed-roof structure from a permit only if the gross area is 15 m² or less — roughly 161 square feet. A 12x12 footprint is already 13.4 square metres, and most TIMBERKITS™ pavilions are larger than that before you've even settled on final dimensions.
In Mississauga, the city's permit guidelines list gazebos and pavilions over 10 square metres as permit-required. Other municipalities apply the legislation differently, which is why your local building department is the right first call.
Permit processing time varies by municipality and doesn't affect our production timeline, but it can push your install date if it comes up late.
What the Finished Structure Actually Feels Like
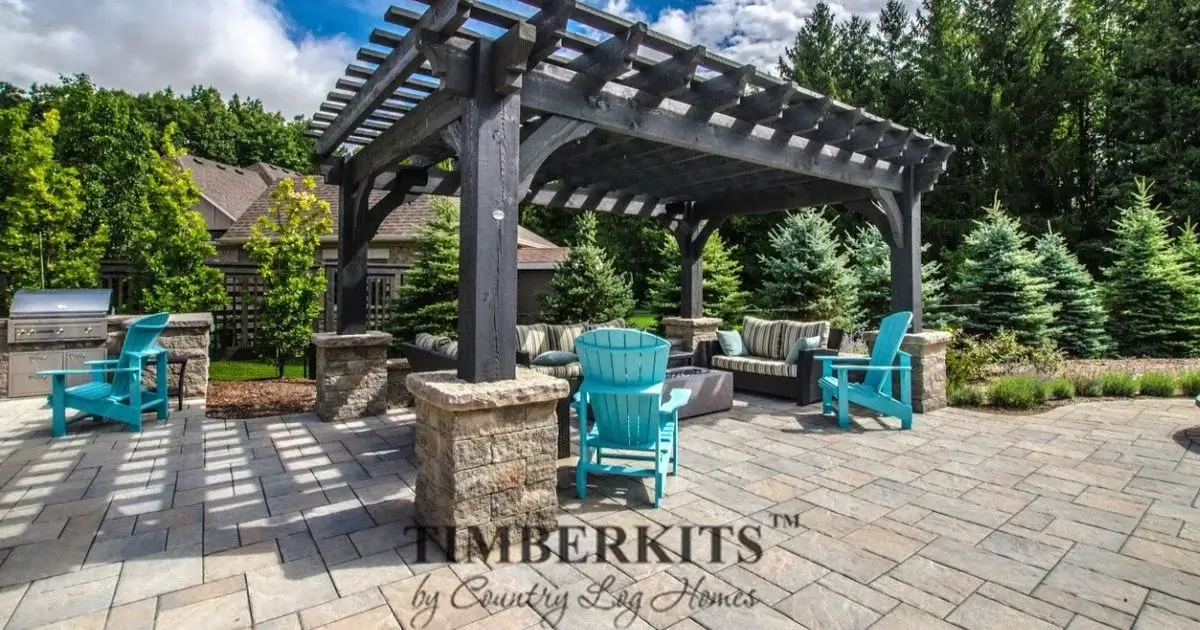
There's a moment on install day when the posts are set, the beams go up, and the scale of the thing becomes real. An 8x8 Douglas Fir post has a physical presence that doesn't translate in photos. The cross-section alone is four times what you'd get from a 4x4, and you feel that when you're standing next to one.
The dressed finish on all four sides catches afternoon light differently than rough-cut lumber does. CUTEK Extreme doesn't sit on the surface the way a film-forming stain does; the oil penetrates into the timber and keeps protecting from the inside out, which is why the colour holds through Ontario winters instead of fading after two or three seasons.
The Canadian Wood Council's guidance on wood finishing covers why penetrating oils outperform surface coatings in climates with significant freeze-thaw cycling. A decade from now, the timber will look like it was built to last. That outcome was decided in the shop, not on your lawn.
Ready to Talk Through Your Project?
Lead time is 4–6 weeks, sometimes longer in peak season. If you're planning a build for this summer or working a structure into a larger landscaping scope, earlier is better.
If you want to see the timber before committing, the showroom at 181 St. George St. in Lindsay is worth the drive. Photos don't give you the scale. If you're ready to get into dimensions and specs, request a quote and we typically respond within 24–48 hours.